Most importantly, download the Docker images in advance — depending on your connection, this can take a while.
Prerequisites
This tutorial will guide you through building a foundational data discovery portal for tabular CSV data using Elasticsearch, Arranger, and Stage.
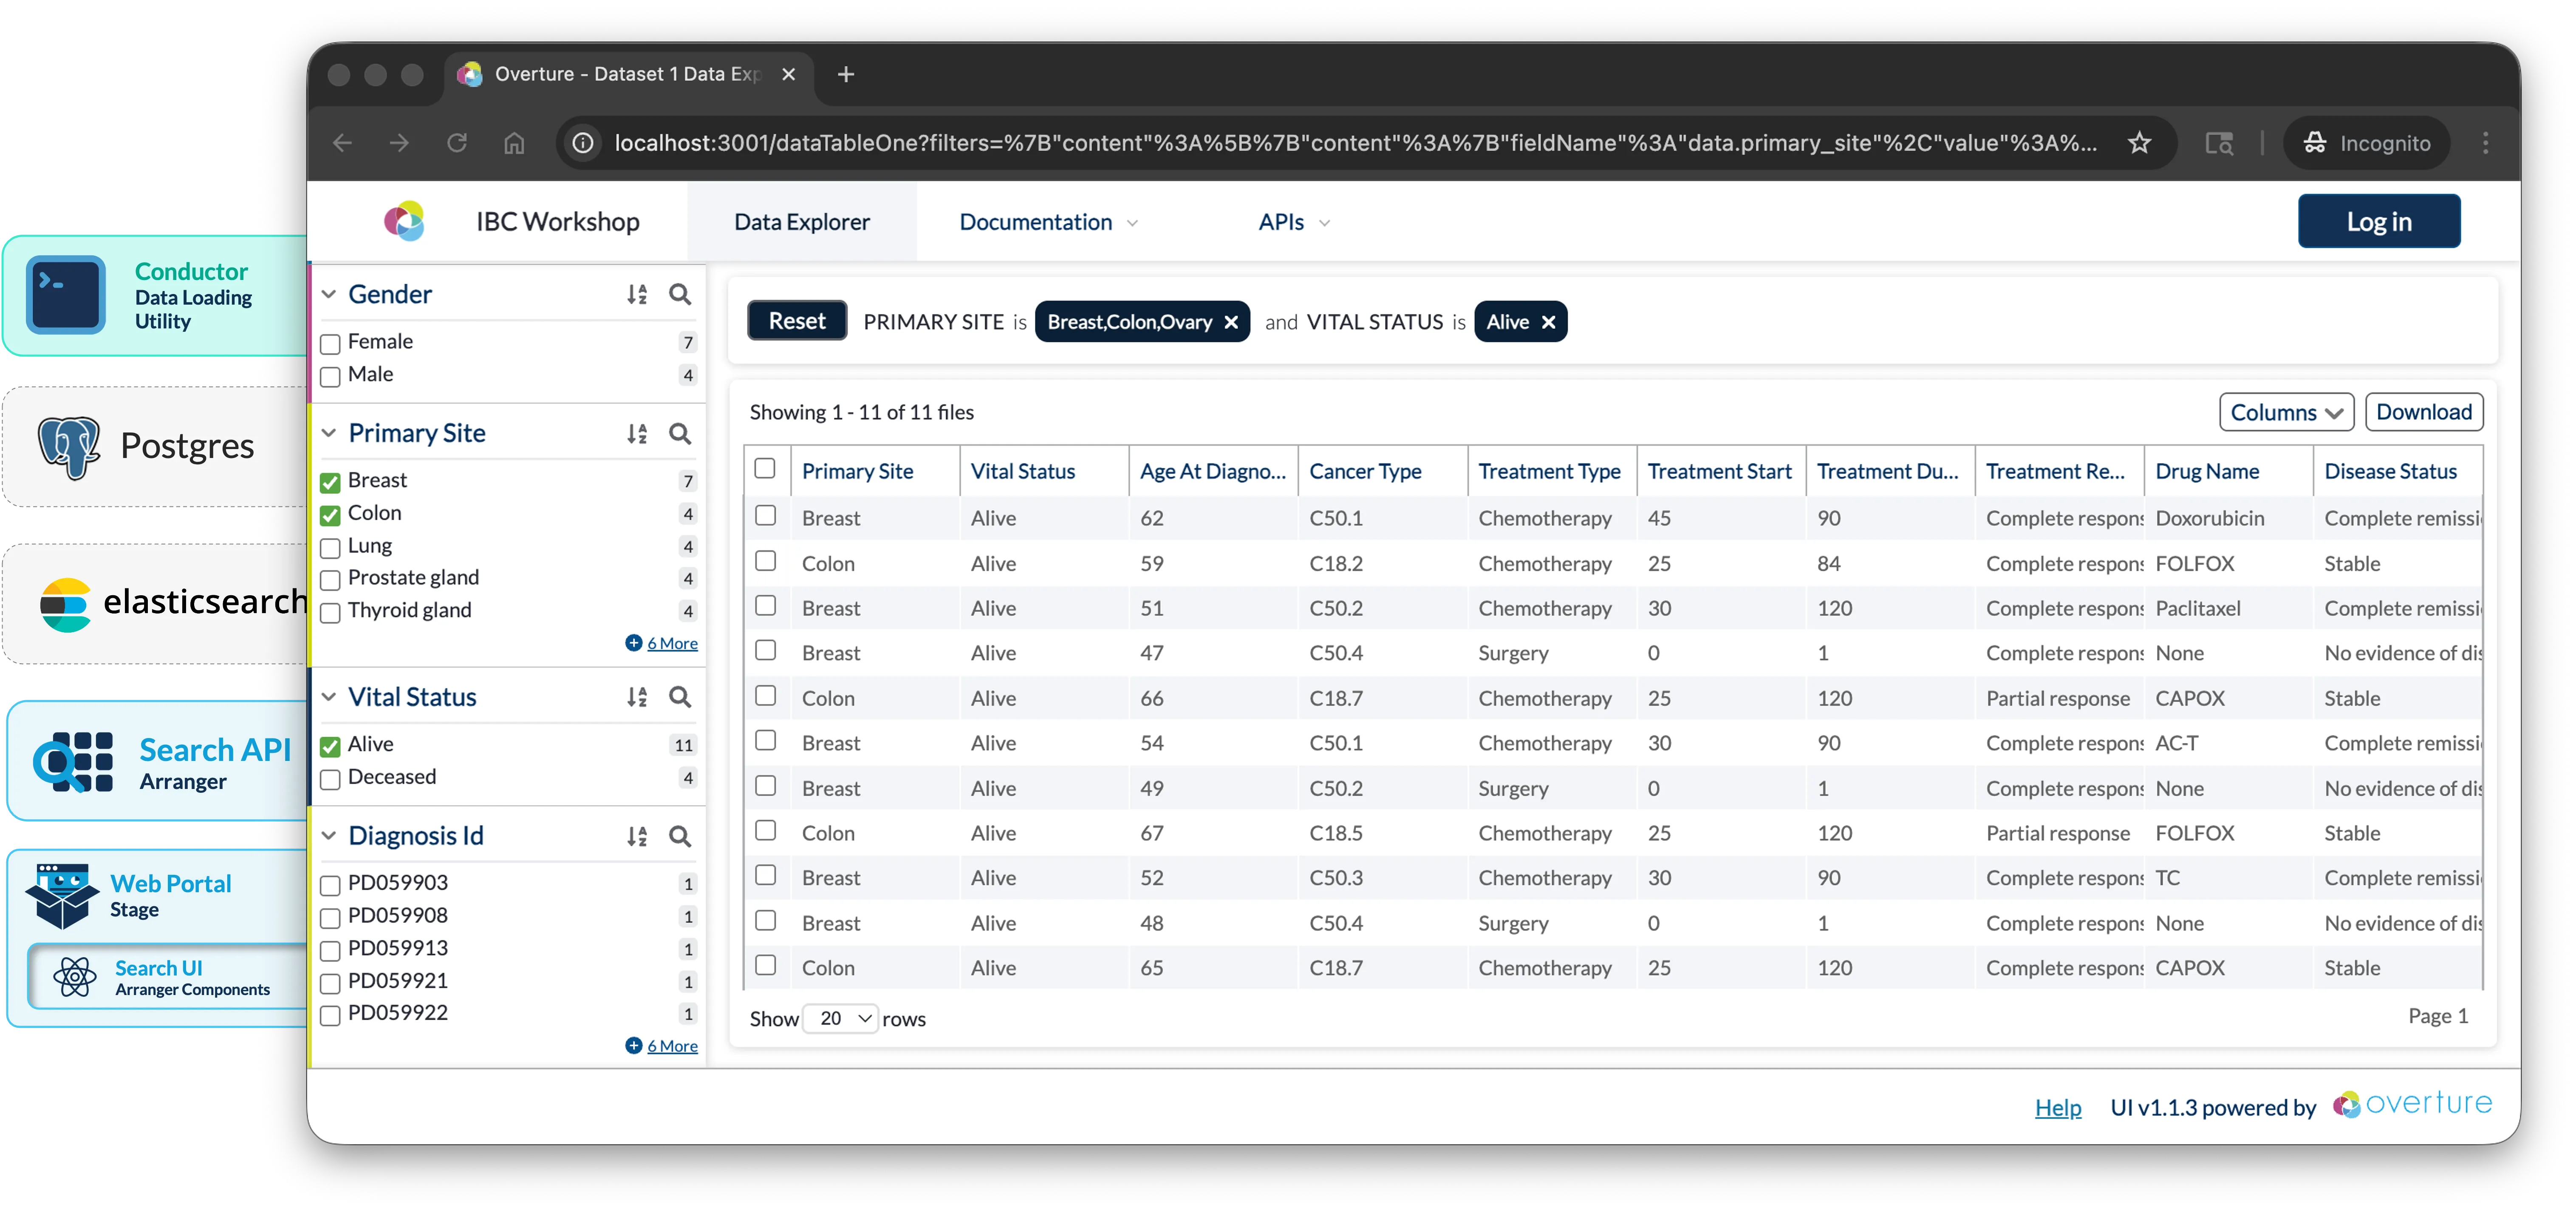
Objectives:
- Deploy a functional data discovery portal using Elasticsearch, GraphQL, Arranger, and Stage
- Configure search interfaces and indices tailored to tabular datasets
- Gain familiarity with the tools needed to adapt this portal to your own data
- Understand deployment options for making portals accessible on institutional networks and beyond
Prerequisites
The following software should be installed and verified before you start:
1. Git git --version returns a version number
Download from git-scm.com if the command is not recognised.
2. Docker Desktop (28.0.0 or later)
- macOS / Windows: Download from docker.com/products/docker-desktop
- Linux: Follow the Docker Engine install guide
Once installed, open Docker Desktop → Settings → Resources and set:
- CPUs: 4+ cores (8 recommended)
- Memory: 8 GB minimum
- Disk: 10 GB+ available
Please ensure docker --version and docker compose version both return version numbers, and Docker Desktop is running with 4+ CPUs and 8 GB+ memory allocated
3. Docker images pre-downloaded Most time-consuming step, run these before you start
Pull the required Docker images now to avoid slow downloads while working through this tutorial:
docker pull alpine/curl:8.8.0
docker pull postgres:15-alpine
docker pull docker.elastic.co/elasticsearch/elasticsearch:7.17.27
docker pull ghcr.io/overture-stack/arranger-server:4919f736
docker pull ghcr.io/overture-stack/conductor:171d9ce
docker pull node:18-alpine
Verify all six downloaded:
docker images | grep -E "alpine/curl|postgres|elasticsearch|arranger-server|conductor|node"
You should see all six images listed.
4. Repository cloned: git clone -b quickstart https://github.com/overture-stack/prelude.git
The prelude repository contains everything needed for this tutorial: Docker Compose configuration, the Conductor wrapper script, and sample data. Clone it once before you start and you won't need internet access for the hands-on portion.
git clone -b quickstart https://github.com/overture-stack/prelude.git
5. (Windows only) WSL2 configured with Docker Desktop integration enabled
- Install WSL2
- Use Ubuntu or another Linux distribution within WSL2
- Enable Docker Desktop's WSL2 integration (Docker Desktop → Settings → Resources → WSL Integration)
- Run all commands from a Bash terminal inside WSL2, not PowerShell or Command Prompt. To open one, search for your Linux distribution (e.g. "Ubuntu") in the Start menu.
Optional Prerequisites
These are not required but will make this tutorial easier to follow:
6. (Optional) Elasticvue: browser-based Elasticsearch GUI
Elasticvue is a browser-based Elasticsearch GUI useful for inspecting indices, browsing documents, and troubleshooting. It is not required but helpful for understanding what's happening inside Elasticsearch while working through this tutorial.
Install it as a browser extension or standalone app.
7. (Optional) PostgreSQL GUI client
8. (Optional) Bring your own data: CSV file
If you have a tabular dataset you'd like to use, bring it as a CSV file. This tutorial uses demo data throughout, but the final sections cover adapting the portal to your own dataset.
Support
| Community support | community support channels or contact@overture.bio |
| Bug reports | GitHub Issues |
Verification Checklist
Before starting, confirm:
git --versionreturns a version numberdocker --versionreturns 28.0.0 or laterdocker compose versionreturns a version number- Docker Desktop is running with 4+ CPUs and 8 GB+ memory allocated
- All six Docker images are downloaded (
docker images) — this is the most time-consuming step - The repository is cloned and you can
cdinto it - (Windows only) WSL2 is configured and Docker integration is enabled
Troubleshooting: If you run into issues, reach out via the community support channels.